

In our Automated Kubernetes Part 1 article, we discussed setting up and creating your kubernetes clusters as well as locations, nodes and uri’s. Using Composer from JBC Labs allows you to easily build a true CI/CD delivery process that scales on any cloud provider and allows for true democratization rather than vendor lock on any cloud or on-prem location.
In today’s discussion we will create a simple wordpress site with our stack to show how easy it is to add your stack, code base and versioning with your teams. In addition you should be able to see how QA can easily replicate the version you tested on their own location keeping testing clean and proper production scheduling in line. (No more of those, “It works from my computer”).
The primary purpose of Composer is to be able to configure and deploy applications in a repeatable and consistent manner. One user configures the application, Composer automatically tracks versions, and once the application is saved, the rest of the project team can start deploying the application. Only users with specific roles are permitted to define applications.
Step 1: Let’s configure a basic application that only uses public images from the Docker hub.
Navigate to “Create and Manage”
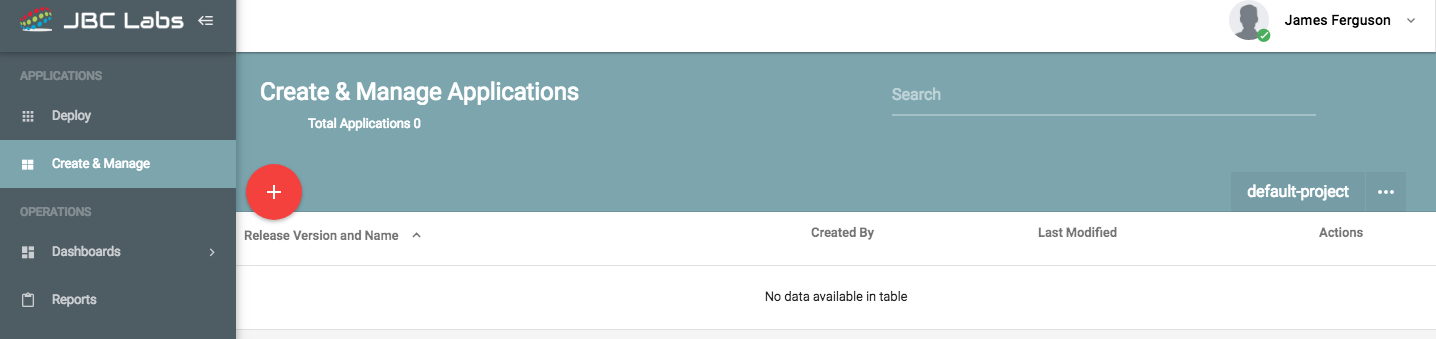
Select the “red +” and choose “Add a Component”. This will give you a list of available pre-created components. You can of course create your own custom components as well or grab from any image available to your team.

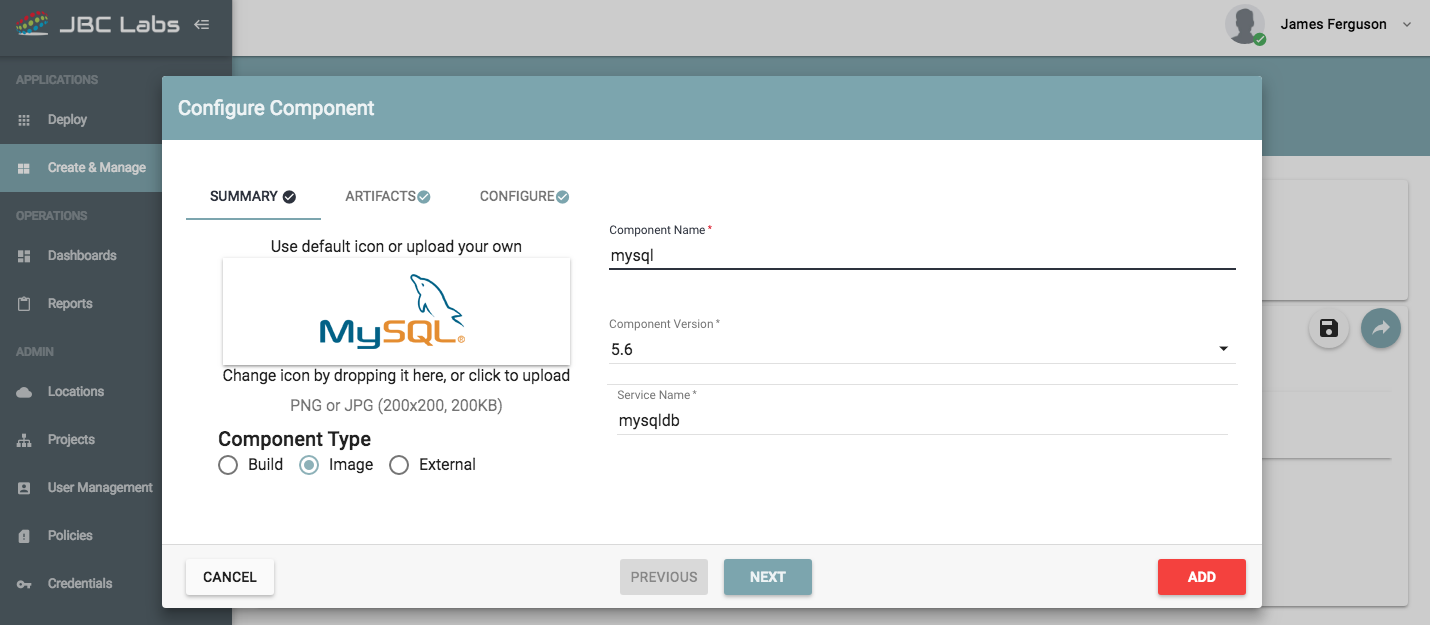
Step 2: Configure your Component. Each Component comes with a summary, Artifact and configure section. The Build, Image and External radio allows you to use a preconfigured option, custom build or your own external image. In addition, you can also set the sections for code, hooks and much more for each in this section.

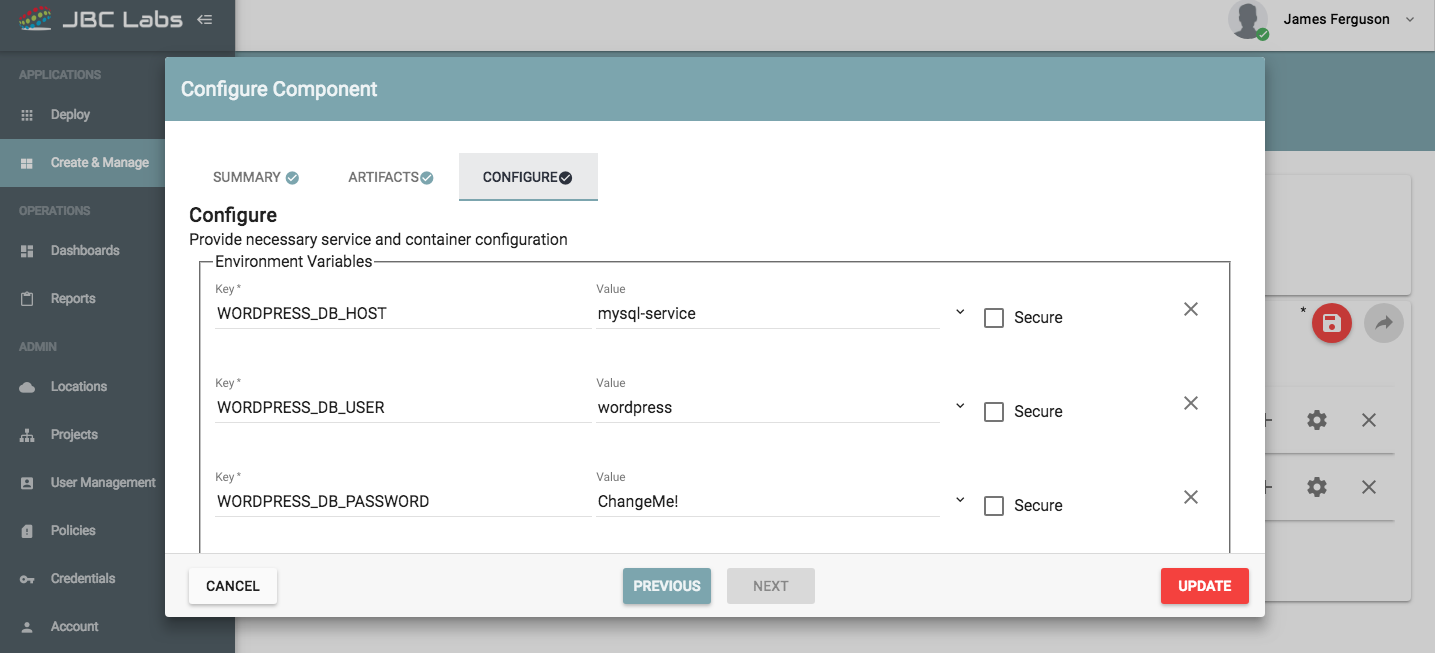
Step 2.1: Add WordPress Component. Leave the Summary and Artifacts section as is. On the Configure section, change the host, database and user to match what you set in the mysql component. The system should automatically see the existing connections and add if available.
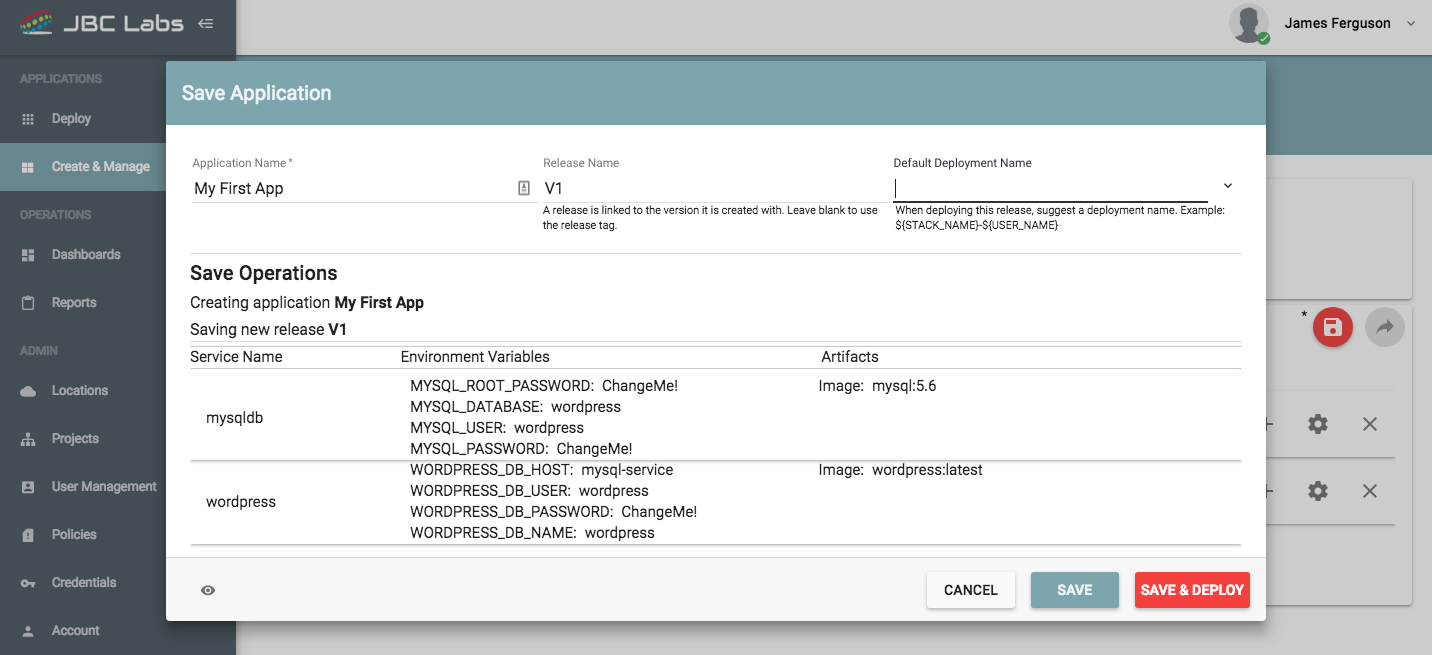
Step 3: Save the application. On the save screen modal, set the name as “My First App”. Set release name as V1. This screen also gives you the components being deployed and the settings. As always, the eye icon in lower left also gives you the API Json configuration if you prefer to run via the API directly in future. Once done filling in the name and version. Click “Save” or “Save and Deploy”
Step 4: Once “Saved”, choosing the “Deploy” option on left allows you to see your list of available applications and deploy them. This section includes additional features that allow you to specify great options for QA, Staging, Prod etc. that ensure your deployments only run for the time you need them
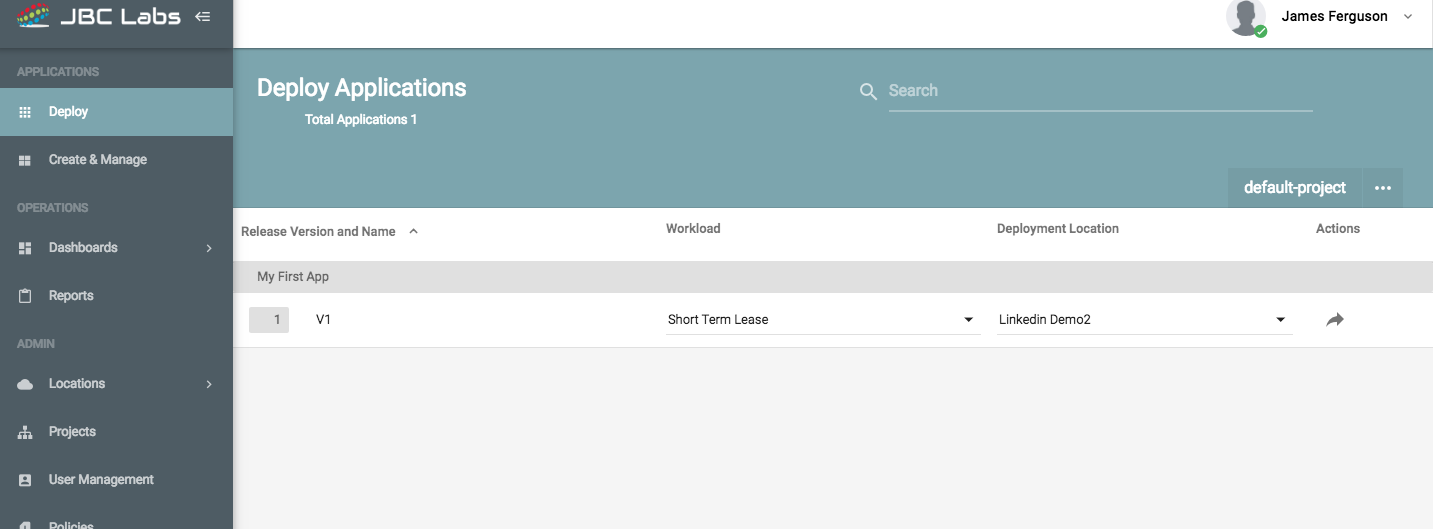
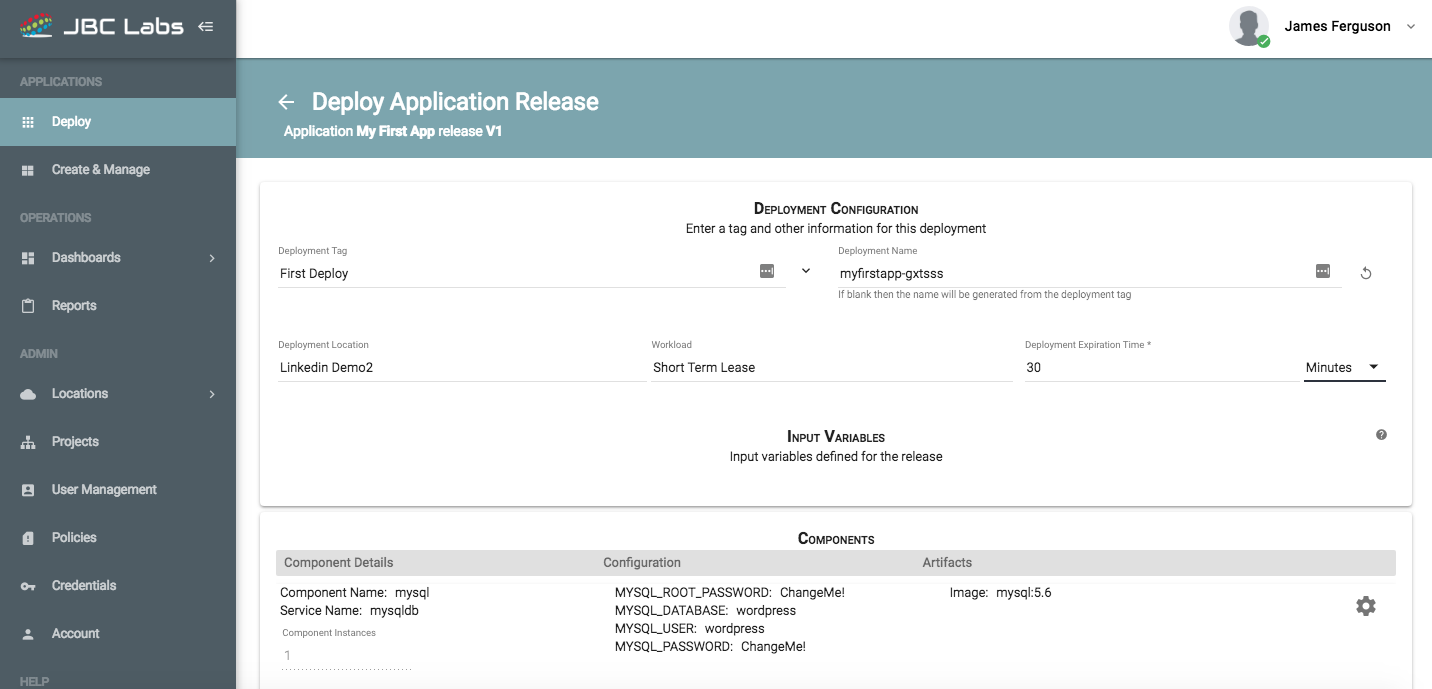
Fill in “First Deploy” for deployment tag,on this screen and leave the rest as is. you will notice we have this application set to run for just 30 minutes.
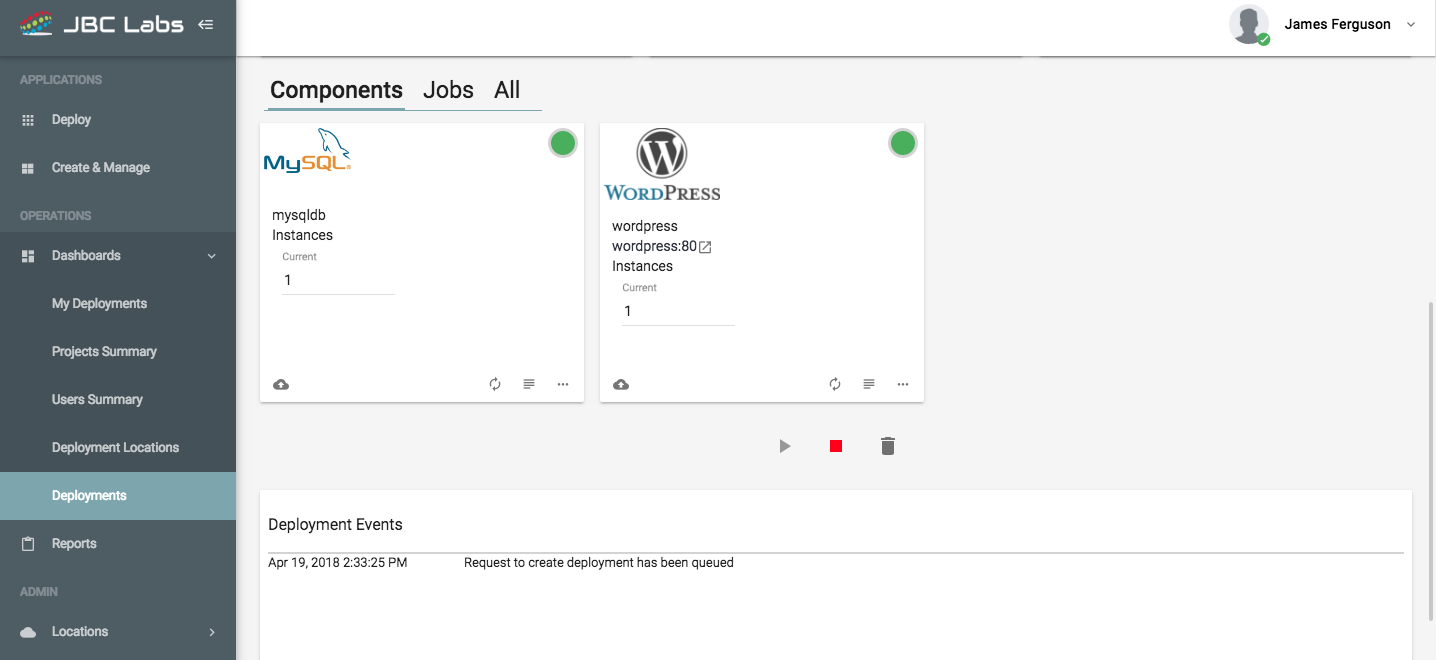
Composer will now deploy your application and show you the results in the deployment dashboard. The system does a full test not just of the deployment but also the settings and network between all. If any issues, it gives you the ability to update the settings directly from this screen, refresh and push changes for just the component needing attention. in addition, we provide the url to the application running and a play and stop button allowing you to instantly kill the deployment and play later as needed.
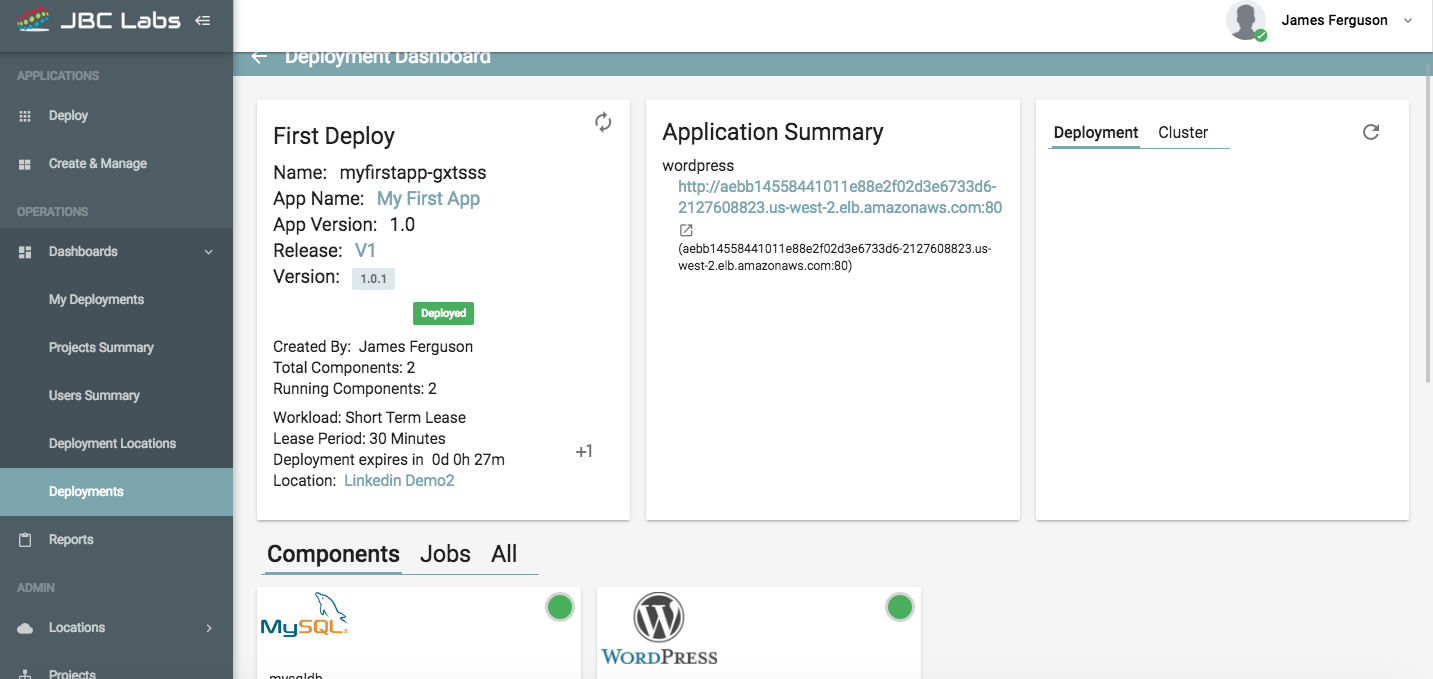
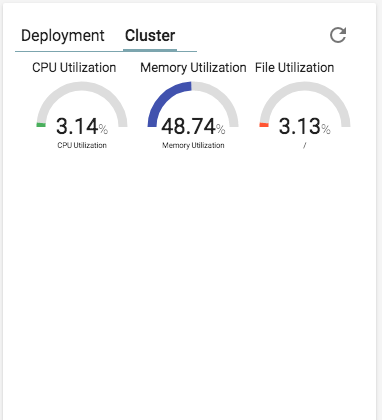
If you are interested to see how many resources are being consumed by your app, from your cluster, choosing the cluster in upper right, shows you the health and stats.
This article shows you how easy it is to deploy and manage your applications, with versioning and full control for costs and statistics. Our next article will be discussing how you manage groups, users and workloads as well as future articles on using Elk Stack to show stats visually across your app seamlessly.
If you have any questions, comments or would like a free 30 day demo of the application, please contact us sales@jumpboxcentral.com or support@jbclabs.com